Showing posts with label christmas cards. Show all posts

Friday, 29 July 2011

Friday's card project - using sketches

I was looking through some blogs this morning for some inspiration and came across a sketch that I wanted to try out. I can't make it come up on here, but it was for a square card with an image on the left, some ribbon on the right and then some decoration. I didn't copy it exactly but made my own version of it as this card demonstrates:

The image was coloured with pro markers and some card candi was added to the top left of the picture.

For the next card, I changed a few things around but the general layout is the same:
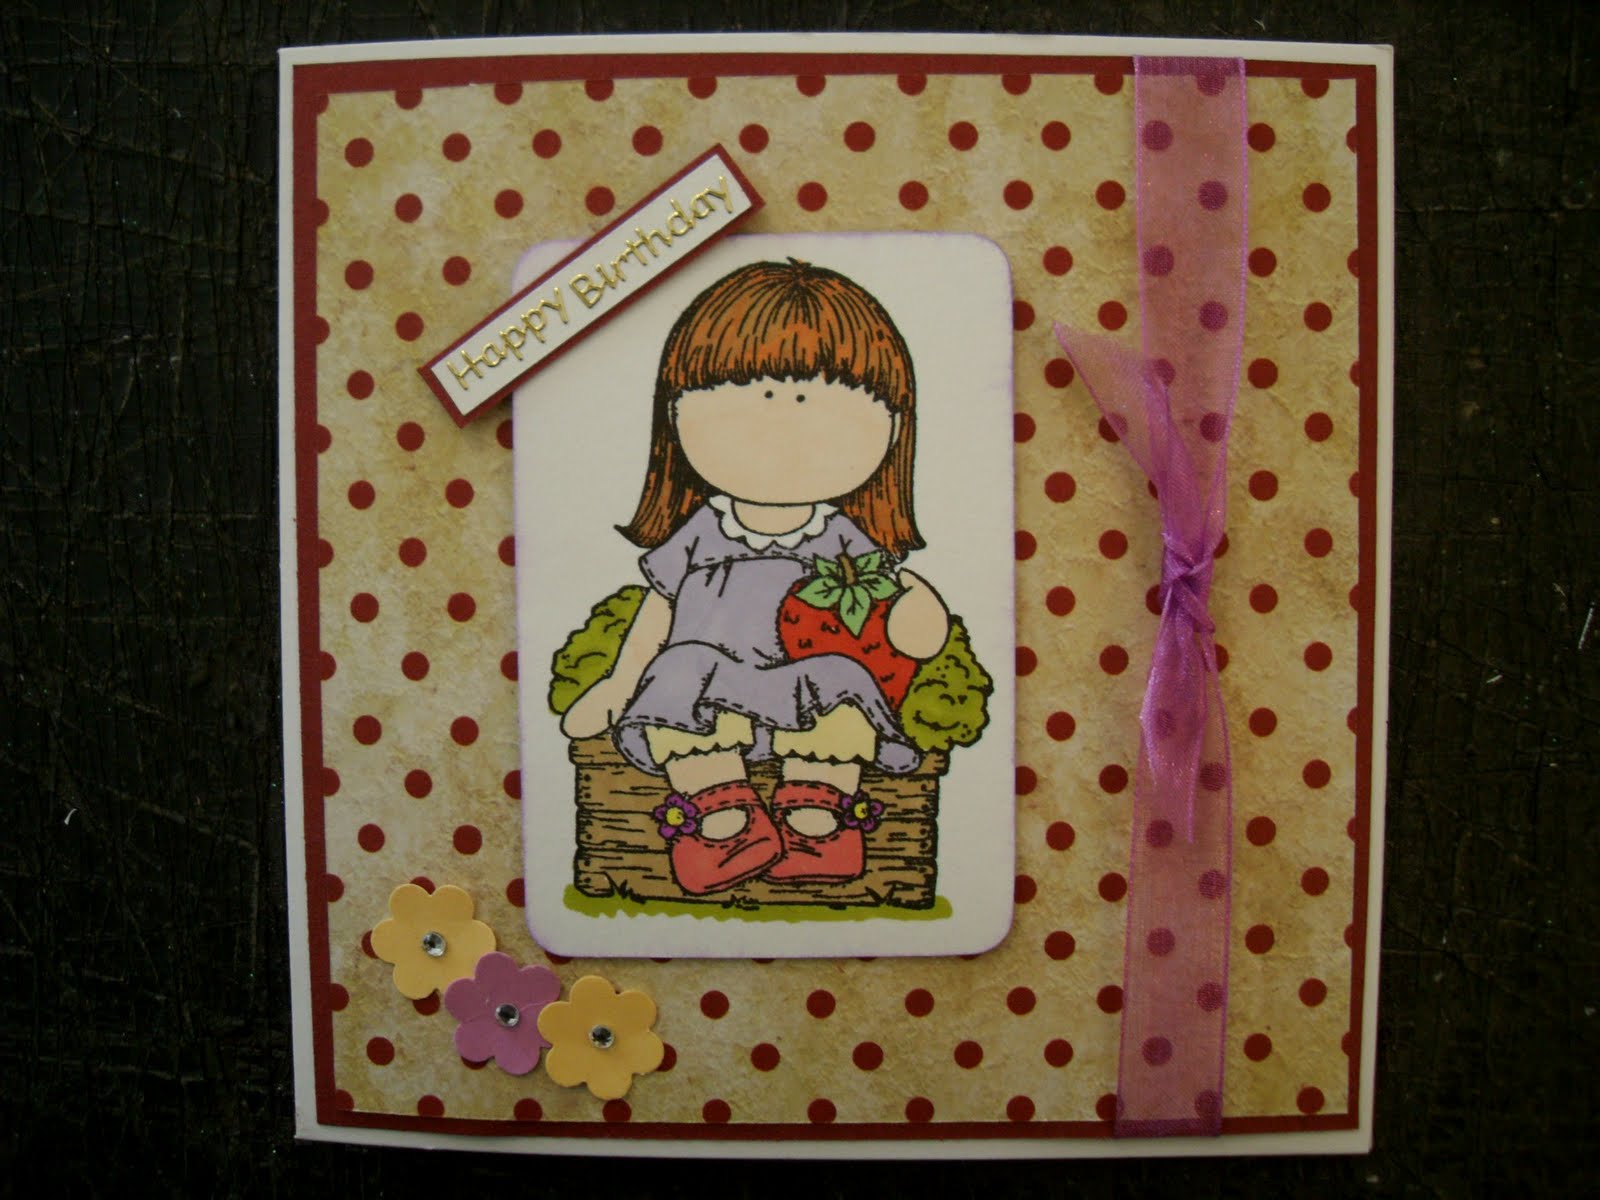
I added some flowers to the bottom left corner instead of the card candi and the sentiment was added as an extra piece going at an angle on the top left of the picture. Instead of mounting the picture onto some coloured card I very gently inked the edges. I didn't want much colour around the picture so I inked it from behind which left a very small line of ink on the front, just enough to give it a little bit of colour.

Then I decided to turn the design around 90 degrees for the next card and had the ribbon on the bottom instead of the right hand side.
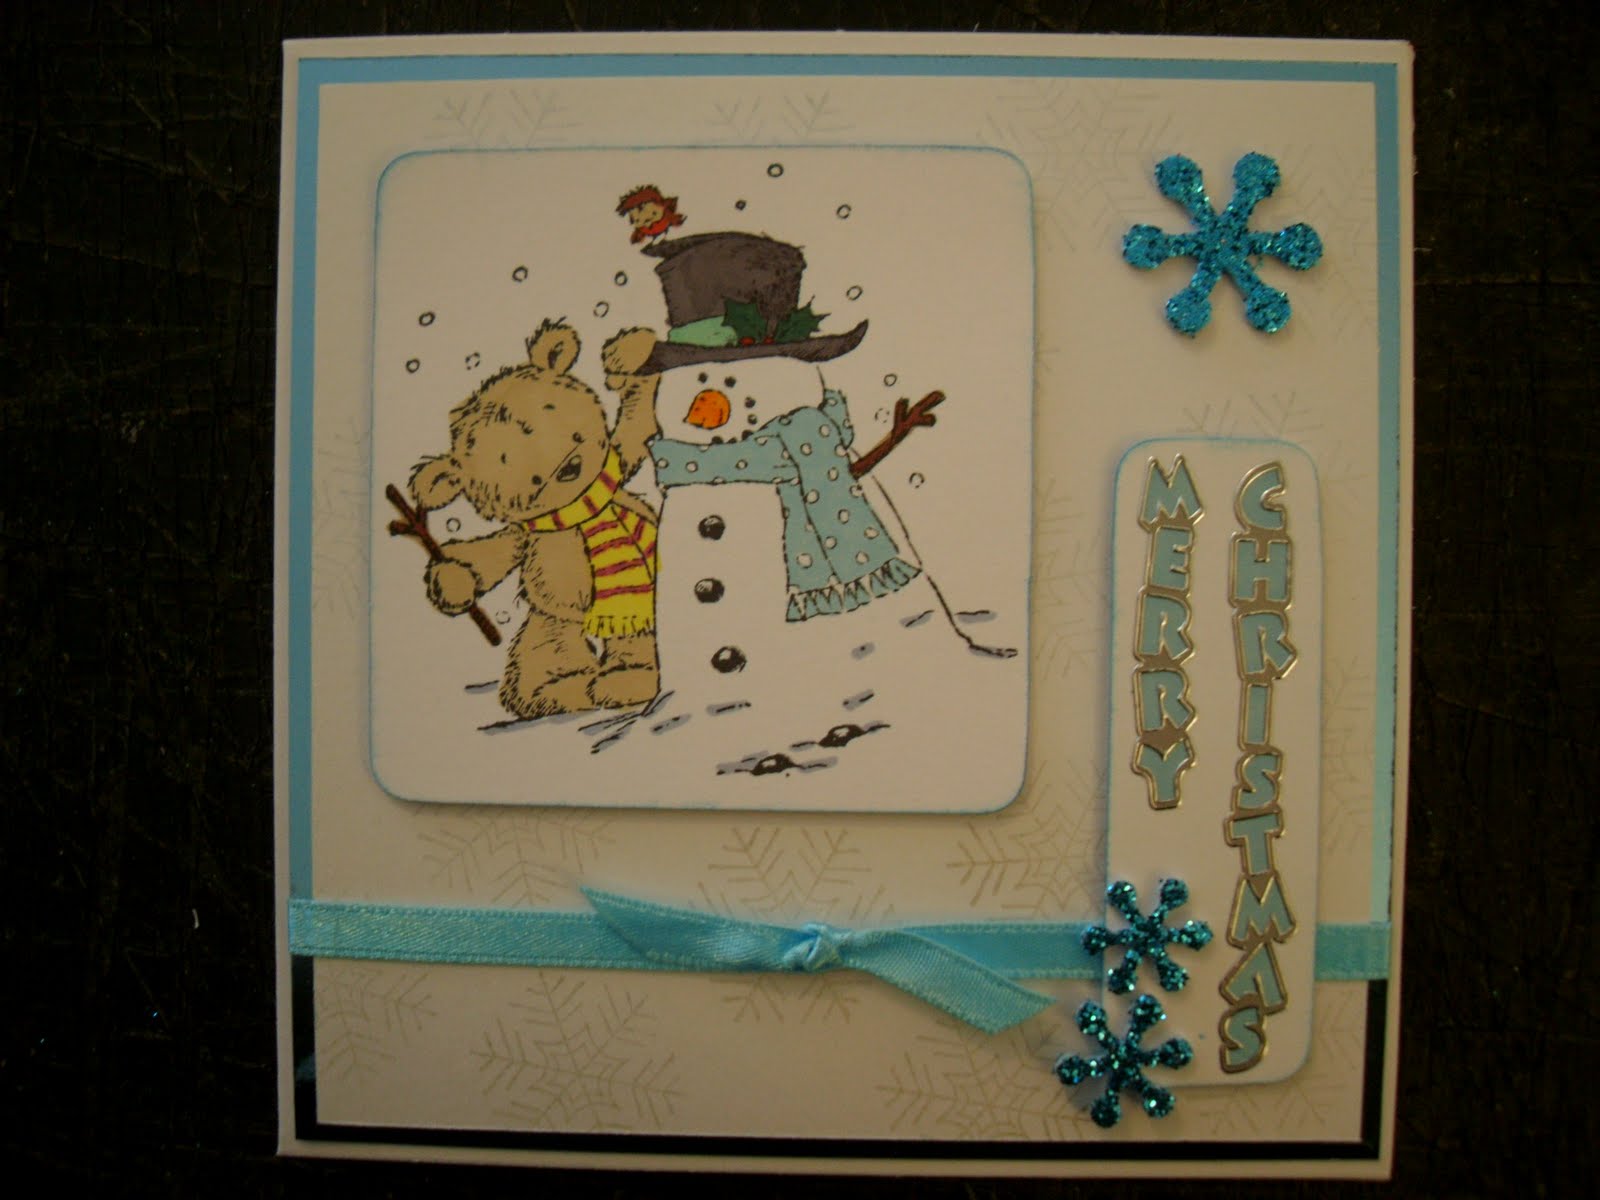
I put the picture on the left instead of in the centre and the sentiment is going down. The blue snow flakes replace the flowers on the last card. I also inked the edges of both the image and the sentiment topper to define it from the background. Although it doesn't come up very well in the picture, the background has very faint blue snowflakes on it which I created using perfect pearls powder dusted over an image stamped with clear ink. They are pearlescent so they shine when they get into the right light and look very good on a contemporary Christmas card such as this one.

Sketches can be very good ways of providing inspiration when you are tired of using the same layouts in your cards. Sometimes they can also prove quite challenging as well and it's always fun to try out new things - why don't you have a go!

Claire

Monday, 25 April 2011

Handmade Cards and experiments!

 The shop - Prestbury Crafts and Gifts (for all those who don't know!) has now been open for just over 6 weeks.

I have been hard at work making cards, among other things and they have been selling very very well. I have even had a few requests from people to make really special handmade cards for them.

Here are a few that I have made - I don't have time to take pictures of them all anymore but those ones I am proud of and want to remember have been pictured.

We went through a week with different anniversary cards, of which I didn't have any at the time so here are the ones I've made - I think they have all sold now so I need to get making some more:


Then came mothers day and again I was busy making cards. It's quite hard to predict how many were going to sell and I was still making them on the day before. Here are 2 of my favourites:


The last one here is made on brown recycled kraft card which gives it that unusual look.


This one is my favourite easel card which has now sold:

One of my colleagues wanted me to make her a card for her friends baby who had just been born. She sat with me for ages telling me what she wanted but I think she now has the card making bug as well. (The baby was Polish just in case you were wondering!)


New baby cards have also been popular and although I haven't had much inspiration for them I did try a few cross stitched cards:


Heat embossing has also featured quite heavily in my card making - it's fun getting messy and watching the glitter melt (!). I discovered my white ink pad and coloured card as well and here are the results:


I also experimented with printing on acetate and creating window cards. It didn't work quite how I wanted it and was very fiddly but the results aren't bad:

And then I got a stencil and had a go an inking through the stencil with my Big and Juicy ink pad. I couldn't find a sponge to use in the village until I had an idea to use a washing up sponge - it worked just as well and here are the results:


Here is another cross stitch card that is prefect for the spring/summer weather we are having:

I bought some shimmer chalks and experimented with the distressed look on this card. It certainly is cheaper than buying distress inks which are very popular at the moment:


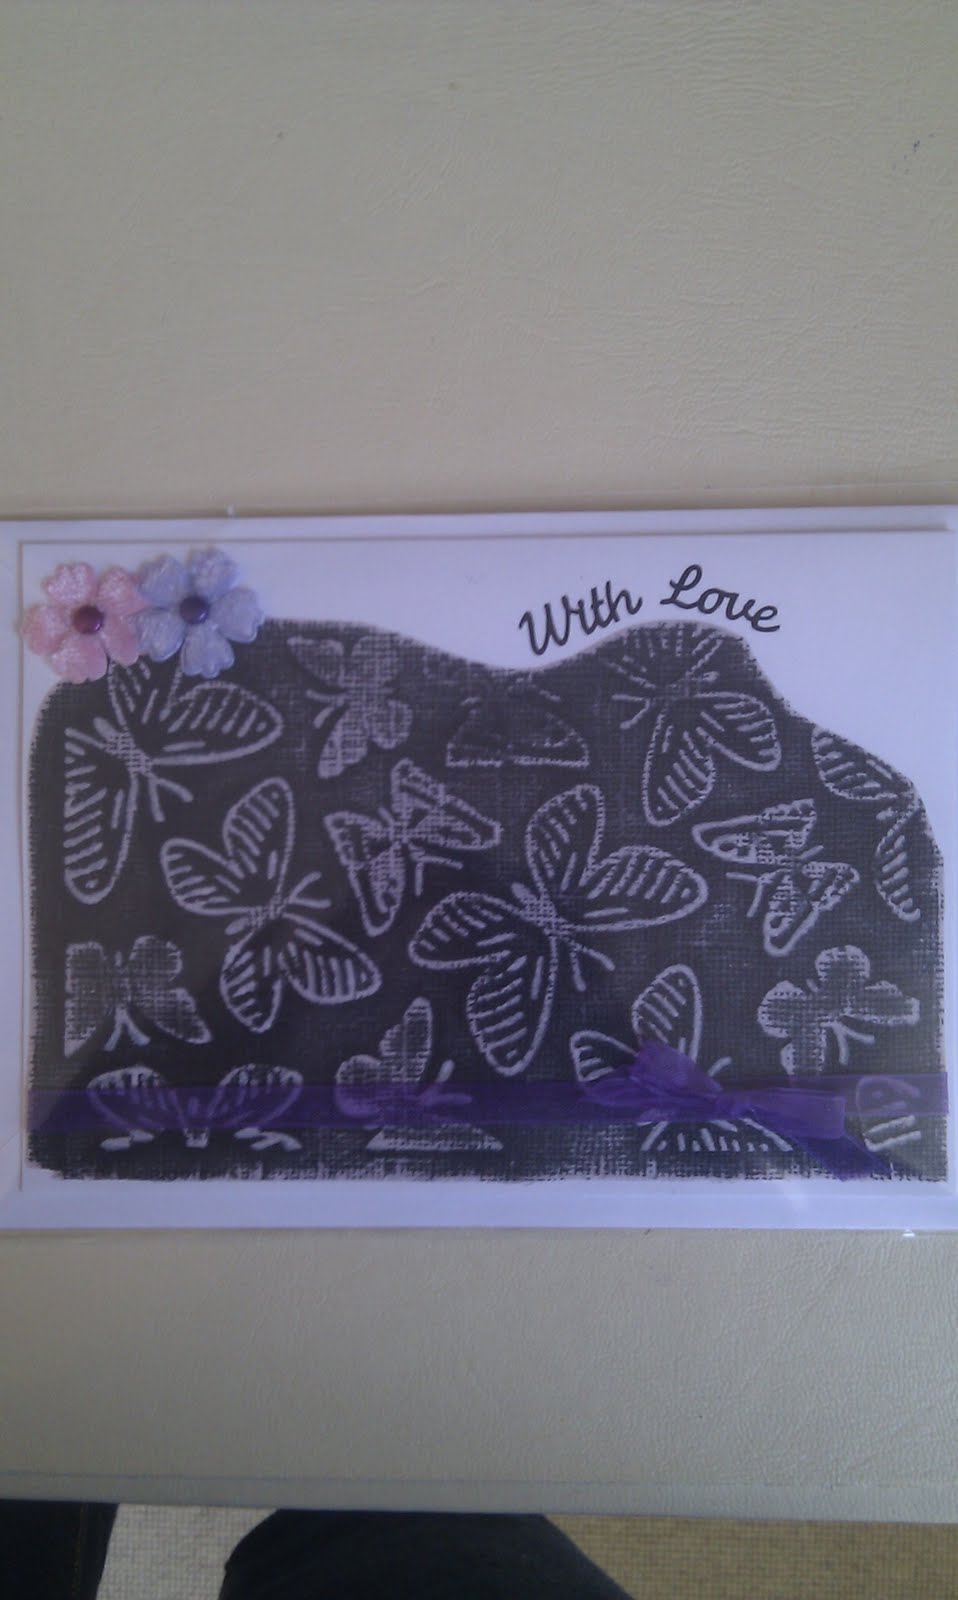
I also bought some black magic core'dinations card which can be sanded to reveal the colour underneath. I tried that with my butterfly embossing folder. It worked quite well apart from I squashed some of the embossed parts when I was gripping it:

Another technique I tried was colouring in on black card with my metallic pencils. I don't think you can see it very well in this picture but the outcome was stunning and I am very pleased. It's just a shame that I only had one of these peel off's!

And then there were the nestabilities I bought. I'm not sure I like this card but I love the shapes the die's create and they will feature a lot more in my card making.

And last but not least are the Christmas cards (yes they were made on one of the hottest days of the year but there is nothing like starting early!). I have had these peel off's for a while and they have been itching to be used. Again I experimented with acetate to create window cards and I think the results are stunning. They produced a very unusual contemporary card and I have more plans for them still .... watch this space!


These are just some of the cards I've been making - I've been extremely busy. I'm afraid there are no cards on the website yet but if you wanted anything please send me an email: claire@prestburygifts.com. I can make cards to order and post them out to you. And for all the budding crafters out there have a look at our website for some great card crafting products: www.prestburycraftsandgifts.com

Sunday, 14 November 2010

Weekend of Christmas Card making

In amongst trying to write my book I have rewarded my good work with some crafting time. Here is what I have made. I think I've made too many cards for what I need now so some of you may receive these next Christmas now!!


Sunday, 24 October 2010

Contemporary Christmas Cards

I recently bought some stamps that had a Christmas theme, but not in the traditional sense. At first I wasn't sure what to do with them, but I had a little thought and this is what I came up with:

Then I had some new punches and again I wasn't quite sure what to do with them. I had previously stamped some smaller Christmas themed shapes and thought that these would fit on my scallop punch perfectly. So I punched 2 scalloped circles and stuck the shapes on with 3D foam. I then stuck some clear glitter snow flakes onto some turquoise card and cut around them. These were stuck on too.


Then my favourite punch was used on the edge of the card. Because the snow flakes don't stand out that much, I added the same colour turquoise card to the edge. This really brings out the snowflakes, especially after I added some glitter.

I then added a clear glitter greeting and this is what I got:
I hope you like them. They are not what you would normally associate with Christmas cards, but I thought it would make a change from the red, green, gold and silver that is traditionally found in festive cards.

Claire

Monday, 18 October 2010

Stamping Fun


I had a weekend of stamping fun. A friend had some new clear rubber stamps and pens, so we sat on the floor colouring in and sharing our card ideas and here is what we came up with. Some are Christmas and some are just general, but I think they produced some very high class looking cards. See what you think:


Thursday, 23 September 2010

More Christmas Cards

I have again been busy making Christmas cards and I thought I would share a few:
CX1 
This is my favourite one. It started by going wrong. I tried to do something clever and it backfired. So I sat there and thought about how I could rectify the situation, so I added the ribbon on the side. The christmas tree is a clear glitter sticker that I stuck onto green card and then cut around it. It is then stuck with foam pads onto the front of the card making it stand out. I think the end result is brilliant!!

CX2 
This tall DL card feautures 2 chrsitmas geese as the topper. The background paper is finished with a shiny red brad in each corner and on there is a bell which actually rings, added to the topper.

CX3  
This card has 4 different christmas tree stickers. They are foiled stickers which gives them a bit more character. A simple, modern christmas card.

CX4
I like this card too because I love glitter. It doesn't show up really on here, but the snow flakes are covered with glitter. The light purple background paper is finished with purple brads in each corner which frames the card nicely.

CX5
A traditional card with a modern twist. The robin is layered decoupage and there is a slight shiny silver outline around the robin too. The greeting also has the same silver surround

CX6
This card plays on different geometric shapes and the white paper on the top is covered with glitter. Again, a foiled christmas tree sticker is in the middle of the card along with smaller foiled star stickers in each corner.

CX7
A black and white bear is the main feature on this card and is mounted on a background paper that shows strings of lights and candy canes. The silver greeting has a pronouned, decorated capital letter.


CX8
This card has a ribbon on the left hand side that has silver sequins on it. The red stars are cut fron glittery paper and again the wording has pronounced, decorated capital letters.

CX9
The last card has quite a lot going on, but all the papers are from the same set so go together quite nicely. There is no need for a greeting as it features in the bottom strip, and the red paper shows all the things you might find in a stocking, which again is a foiled sticker.

Sunday, 5 September 2010

My very busy craft weekend - the outcome

So, it has been quite a busy weekend for crafting and I thought I would share the outcome with you. Most are Christmas cards, but there are a few other desins in there as well. I also completed a cross stitch card for a friend's birthday. So I can't put it on here yet in case she is reading, but I will do in a few weeks.

B1
This card is made using vinyl butterfly stickers with a hint of glitter built into them. The top half is covered with vellum and the bottom just a plain card.

B2
I like the japanese themed toppers you can buy because the detailing is son intricate. You need good eyes to see the detail in the middle picture but I think they look stunning

B3
This one and the next one are perfect for Autumn. They feature owls and Autumn themed backgrounds. They are plain so can be used as a card for any occasion.

B4

B5
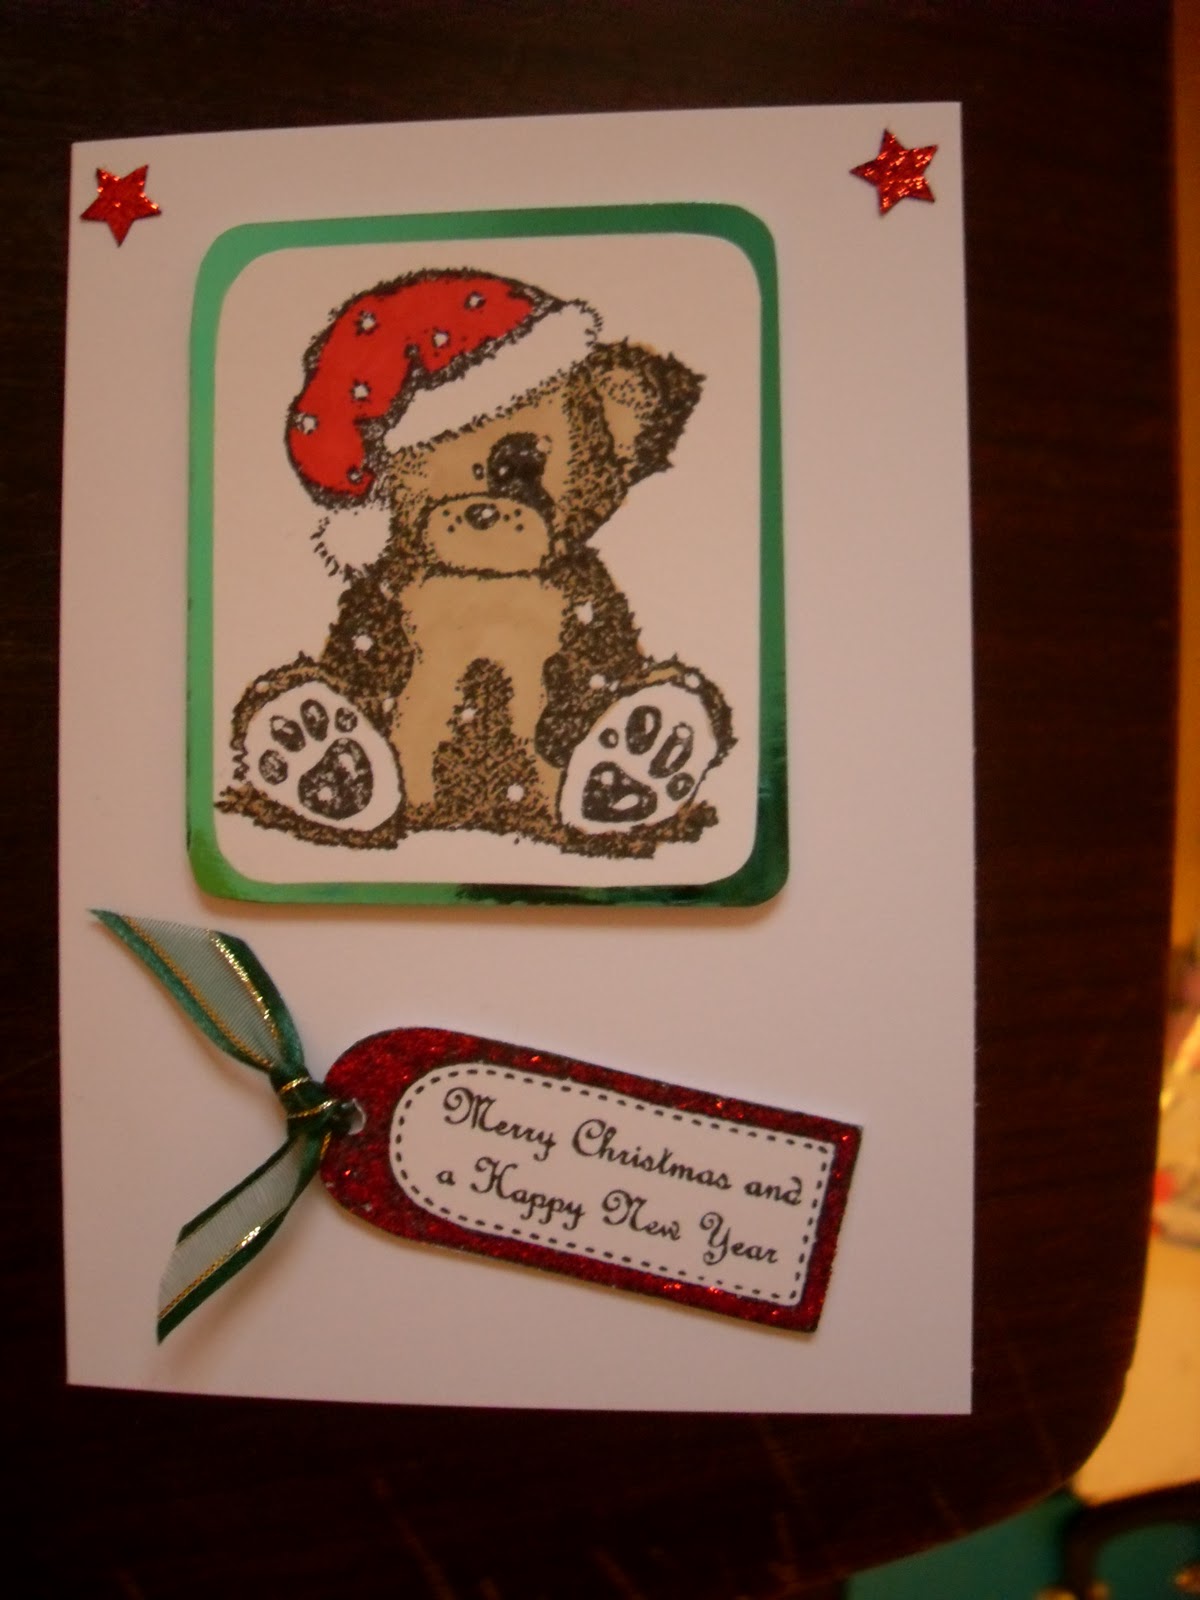
This one is a simple Christmas card with a tag shaped greeting on the right hand side saying 'Merry Christmas and a Happy New Year'. I really like the red ribbon in this card as it has silver tinsel built into it giving it an even more festive feel.

B6
B7
These two cards are simple and elegant. The first one has the words 'Seasons Greetings' in the middle which is raised slightly from the rest of the card. The second card features a Christmas message and are perfect for everyone.

B8
I really like this card and am pleased with the gold borders. The picture in the middle is made using decoupaage and some of the fruits, flowers and the bow have glitter on them.

B9
This is another shaker card that was featured in an earlier post. It has loose glitter in the middle to go with the words 'Let it snow'. There is also subtle glitter on the red background paper too.

B10
This is a 3 fold card and opens in the middle. There is a decoupaged image on the front with glitter on the flowers and the flame of each candle. Again there is a gold border around the centre image and a small greeting on the right hand side.

B11
This is a simple decoupage design with gold glitter on the baubles and the stars.

B12
This card has 4 green and silver tree designs down a silver strip of card in the middle. There are small green glitter dots bordering the silver strip and the words 'Merry Christmas' down the side along with a holly border.

As you can see I have been very busy and it feels like Christmas is just around the corner. If you like anything then please let me know.

Claire