Thursday 30 December 2010

Holiday card craft

I had some really nice stamps for Christmas and as I was a bit bored of making Christmas stamps I thought I would try something a bit more cheerful to take away the winter blues:


This one could be an Easter card I think as they look like chickens, but it could be used for any occasion and was very simple to make with a stamped flower border at the bottom.

This one again features birds and I created the paisley background by repeatedly stamping a square of paisley onto a purple background. The ribbon hides the gaps quite nicely!!


Although this one has rain in it I still think it's quite a cheerful card. I chose thank you as the greeting but it cold be used for a variety of occasions or could even be left blank.


I am not too sure about this card, it's quite wintery with the green and brown colouring and could be used to any occasion. I do like the border which was repeatedly stamped round the edge and features a small acorn.

I absolutely love this one and it's perfect for children. It has a comedy cow stamped in the front and is actually a double card. The front lifts up to reveal the words 'Happy birthday' and the inside is blank. Gives the young child something extra to play with.

I then decided to use up some old bits and have a go at re inventing some cards I had made previously and here are the results:

I hope you like them!

Sunday 19 December 2010

Black and white cards

I have been wanting to make black and white cards for a while now. There is just something about them that appeals to me and I think they can look very sophisticated when done right. Most of the bits I found were very boring and didn't look very good until I found this set from Kanban - a card making brand that I really like.

I know it's cheating slightly but I love the old fashioned adverts that are featured in the card designs such as the following:

And colours such as silver can be used as well to create a nice shiny, more expensive look to the card. Here are a few more that I have created:


Although I think this one is my favourite because it shows an old newspaper article. It's a bit too small to see in the picture but you can actually read it on the card.


I'd love to know what you think!

Sunday 5 December 2010

New Stamps

I am always on the look out for new things to use in my card making and also things that can be used over and over again.

I found these stamps from the Woodland range yesterday and made a few cards:

What I like is that even though the stamps are all separate they can be stamped together to create a variety of images such as the one below:

Friday 3 December 2010

Birthday Cards

Amongst the Christmas cards I have been making there were also a few birthday cards too. Here are two of my favourite ones:

This one was made for my brother. I was unsure of what to make when I came across the champagne bottle. I added the 21 to the blank label and went over the spray with glitter.

It's a shortfall card as well and the inside is covered in matching paper. I did attempt to put the individual letters to spell out 'happy birthday' on the inside but it didn't look right when I had done it

The next card is perfect for any girly birthday you may have coming up. The dress is cut out of handmade paper with glitter already on the front. I added some gems around the neckline and mounted it onto pink glitter card that had been punched with a border. The flower is made by cutting strips of ribbon and layering them together. Very sophisticated!

Sunday 14 November 2010

Weekend of Christmas Card making

In amongst trying to write my book I have rewarded my good work with some crafting time. Here is what I have made. I think I've made too many cards for what I need now so some of you may receive these next Christmas now!!


Sunday 31 October 2010

Padded cards

I have been trying out new ideas for cards and actually saw this idea on a craft shopping channel. It used the same material as I had already bought to make a quilted cushion from. I had bought too much material and thought that the remainder of it would make some beautiful cards:

It is a very simple card and can be added to if required.


I cut out a piece of stiff cardboard and made it into a square. I then cut out a square of material leaving a border around the edges. I cut a piece of wadding the same size as the card board square and glued it on. I then stretched the material over the square and glued down the back.

The square was then mounted onto a piece of gold card and stuck the the centre of the card. I then stuck on some gold peel off borders around the square to create the sections.

This card has a greeting on it, but I also thought of adding some hearts or other peel off's in the corner sections, although I couldn't find anything suitable.


They make really special cards to suit any occasion and any patterned material can be used.

Sunday 24 October 2010

Contemporary Christmas Cards

I recently bought some stamps that had a Christmas theme, but not in the traditional sense. At first I wasn't sure what to do with them, but I had a little thought and this is what I came up with:

Then I had some new punches and again I wasn't quite sure what to do with them. I had previously stamped some smaller Christmas themed shapes and thought that these would fit on my scallop punch perfectly. So I punched 2 scalloped circles and stuck the shapes on with 3D foam. I then stuck some clear glitter snow flakes onto some turquoise card and cut around them. These were stuck on too.


Then my favourite punch was used on the edge of the card. Because the snow flakes don't stand out that much, I added the same colour turquoise card to the edge. This really brings out the snowflakes, especially after I added some glitter.

I then added a clear glitter greeting and this is what I got:
I hope you like them. They are not what you would normally associate with Christmas cards, but I thought it would make a change from the red, green, gold and silver that is traditionally found in festive cards.

Claire

Monday 18 October 2010

Stamping Fun


I had a weekend of stamping fun. A friend had some new clear rubber stamps and pens, so we sat on the floor colouring in and sharing our card ideas and here is what we came up with. Some are Christmas and some are just general, but I think they produced some very high class looking cards. See what you think:


Wednesday 29 September 2010

The end of summer

Summer is pretty much over, so I thought I would share some of the cards I made a few years ago with some summery designs to cheer you up a bit.

These two cards are the mirror opposite of each other and feature tags, a border with teapots on and a swirly coloured back ground. Perfect for a thinking of you card to brighten up anyones day.

This one has an English country garden theme layered up as decoupage. It is an unusual hexagon shape, finished with some roses peel offs and a greeting.

Monday 27 September 2010

Ornate Bird

I was looking through some pictures of some cards I made last year and I thought I would share my favourites with you.

This card has been made by cutting an inch off the front of the card with scalloped scissors. The backing paper is then stuck over the whole of the inside of the card so that some of it is peeking through when the card is closed.

I then cut a circle on the top left hand corner, the same size as the bird topper I had. The topper was then stuck on the inside of the card, mounted onto silver card.

On the front, I cut a circle of glitter card, slightly larger than the hole. I didn't use a scallop punch because I didn't have one at the time, but using this would have made it easier! I then cut a hole in the glitter card, the same size as the hole in the card, to create a border for the topper on the inside.

I then mounted a matching greeting topper onto the same glitter card and stuck this for the front.

So really, it is two cards in one, as another card emerges when the recipient opens it.

I might have to try some more of these!

Claire

Thursday 23 September 2010

More Christmas Cards

I have again been busy making Christmas cards and I thought I would share a few:
CX1 
This is my favourite one. It started by going wrong. I tried to do something clever and it backfired. So I sat there and thought about how I could rectify the situation, so I added the ribbon on the side. The christmas tree is a clear glitter sticker that I stuck onto green card and then cut around it. It is then stuck with foam pads onto the front of the card making it stand out. I think the end result is brilliant!!

CX2 
This tall DL card feautures 2 chrsitmas geese as the topper. The background paper is finished with a shiny red brad in each corner and on there is a bell which actually rings, added to the topper.

CX3  
This card has 4 different christmas tree stickers. They are foiled stickers which gives them a bit more character. A simple, modern christmas card.

CX4
I like this card too because I love glitter. It doesn't show up really on here, but the snow flakes are covered with glitter. The light purple background paper is finished with purple brads in each corner which frames the card nicely.

CX5
A traditional card with a modern twist. The robin is layered decoupage and there is a slight shiny silver outline around the robin too. The greeting also has the same silver surround

CX6
This card plays on different geometric shapes and the white paper on the top is covered with glitter. Again, a foiled christmas tree sticker is in the middle of the card along with smaller foiled star stickers in each corner.

CX7
A black and white bear is the main feature on this card and is mounted on a background paper that shows strings of lights and candy canes. The silver greeting has a pronouned, decorated capital letter.


CX8
This card has a ribbon on the left hand side that has silver sequins on it. The red stars are cut fron glittery paper and again the wording has pronounced, decorated capital letters.

CX9
The last card has quite a lot going on, but all the papers are from the same set so go together quite nicely. There is no need for a greeting as it features in the bottom strip, and the red paper shows all the things you might find in a stocking, which again is a foiled sticker.

Sunday 5 September 2010

My very busy craft weekend - the outcome

So, it has been quite a busy weekend for crafting and I thought I would share the outcome with you. Most are Christmas cards, but there are a few other desins in there as well. I also completed a cross stitch card for a friend's birthday. So I can't put it on here yet in case she is reading, but I will do in a few weeks.

B1
This card is made using vinyl butterfly stickers with a hint of glitter built into them. The top half is covered with vellum and the bottom just a plain card.

B2
I like the japanese themed toppers you can buy because the detailing is son intricate. You need good eyes to see the detail in the middle picture but I think they look stunning

B3
This one and the next one are perfect for Autumn. They feature owls and Autumn themed backgrounds. They are plain so can be used as a card for any occasion.

B4

B5
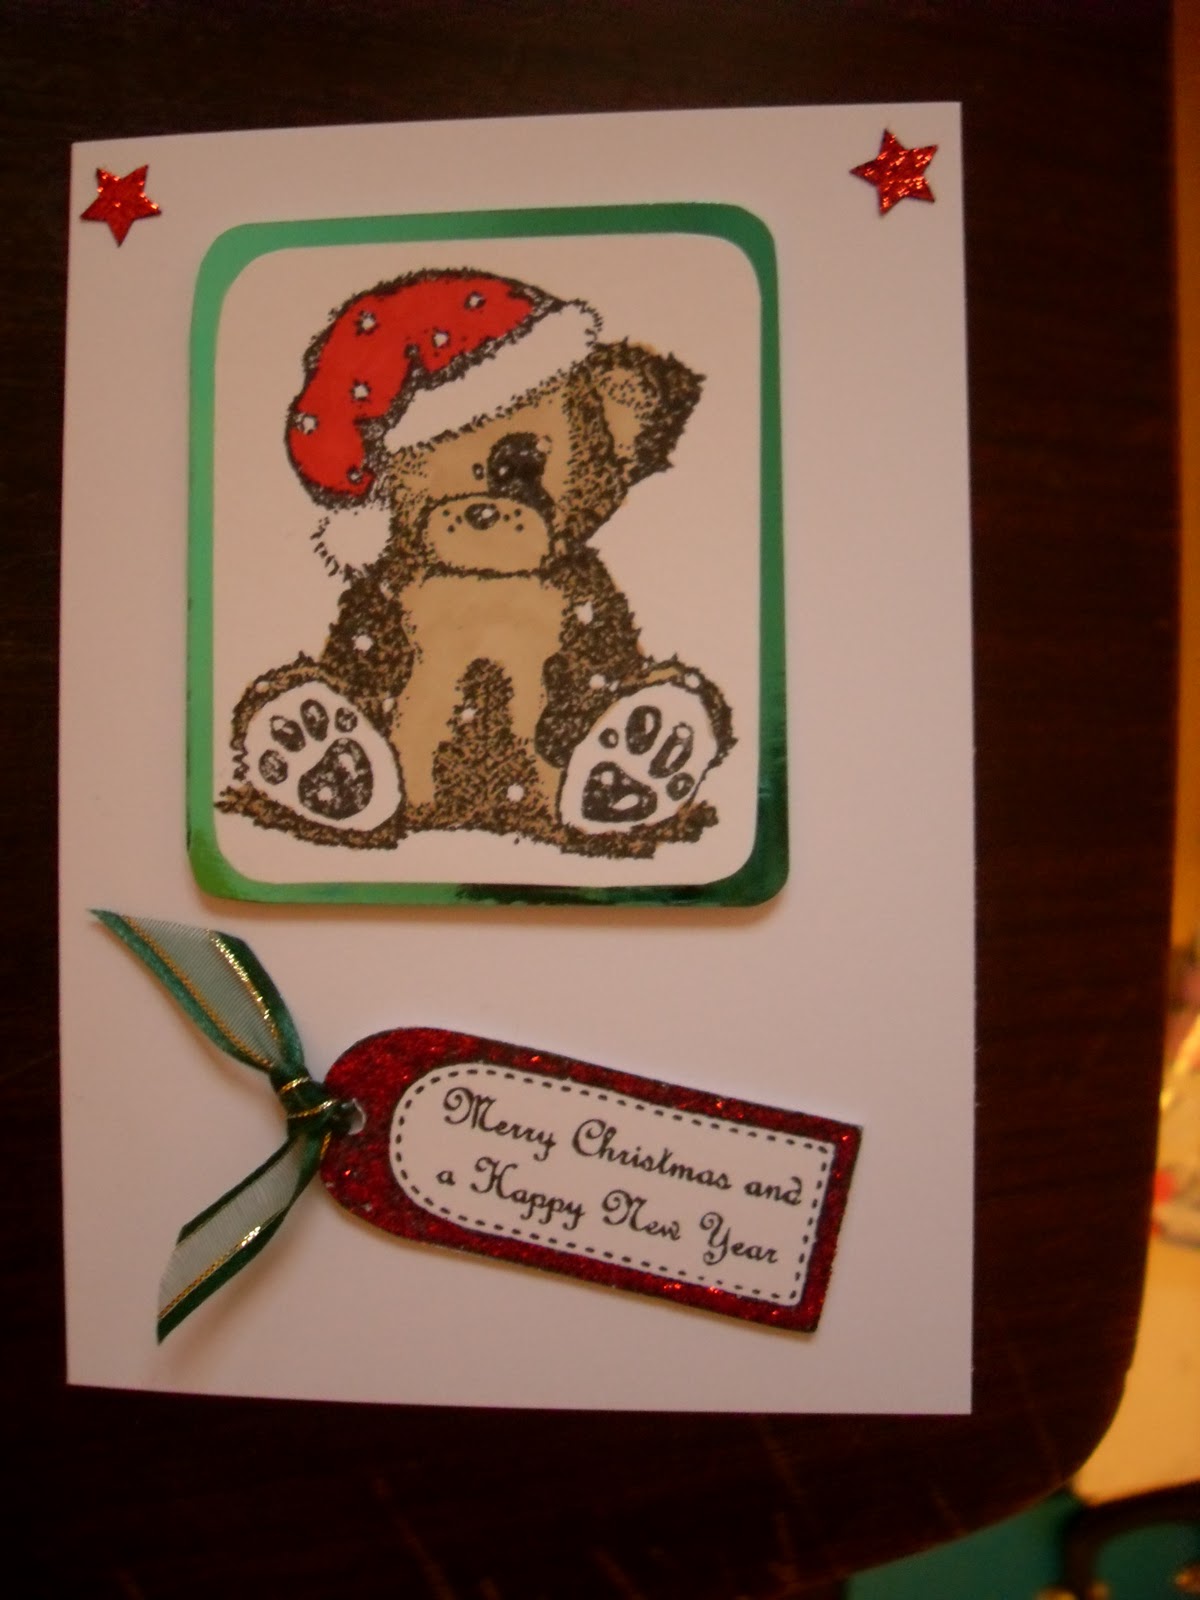
This one is a simple Christmas card with a tag shaped greeting on the right hand side saying 'Merry Christmas and a Happy New Year'. I really like the red ribbon in this card as it has silver tinsel built into it giving it an even more festive feel.

B6
B7
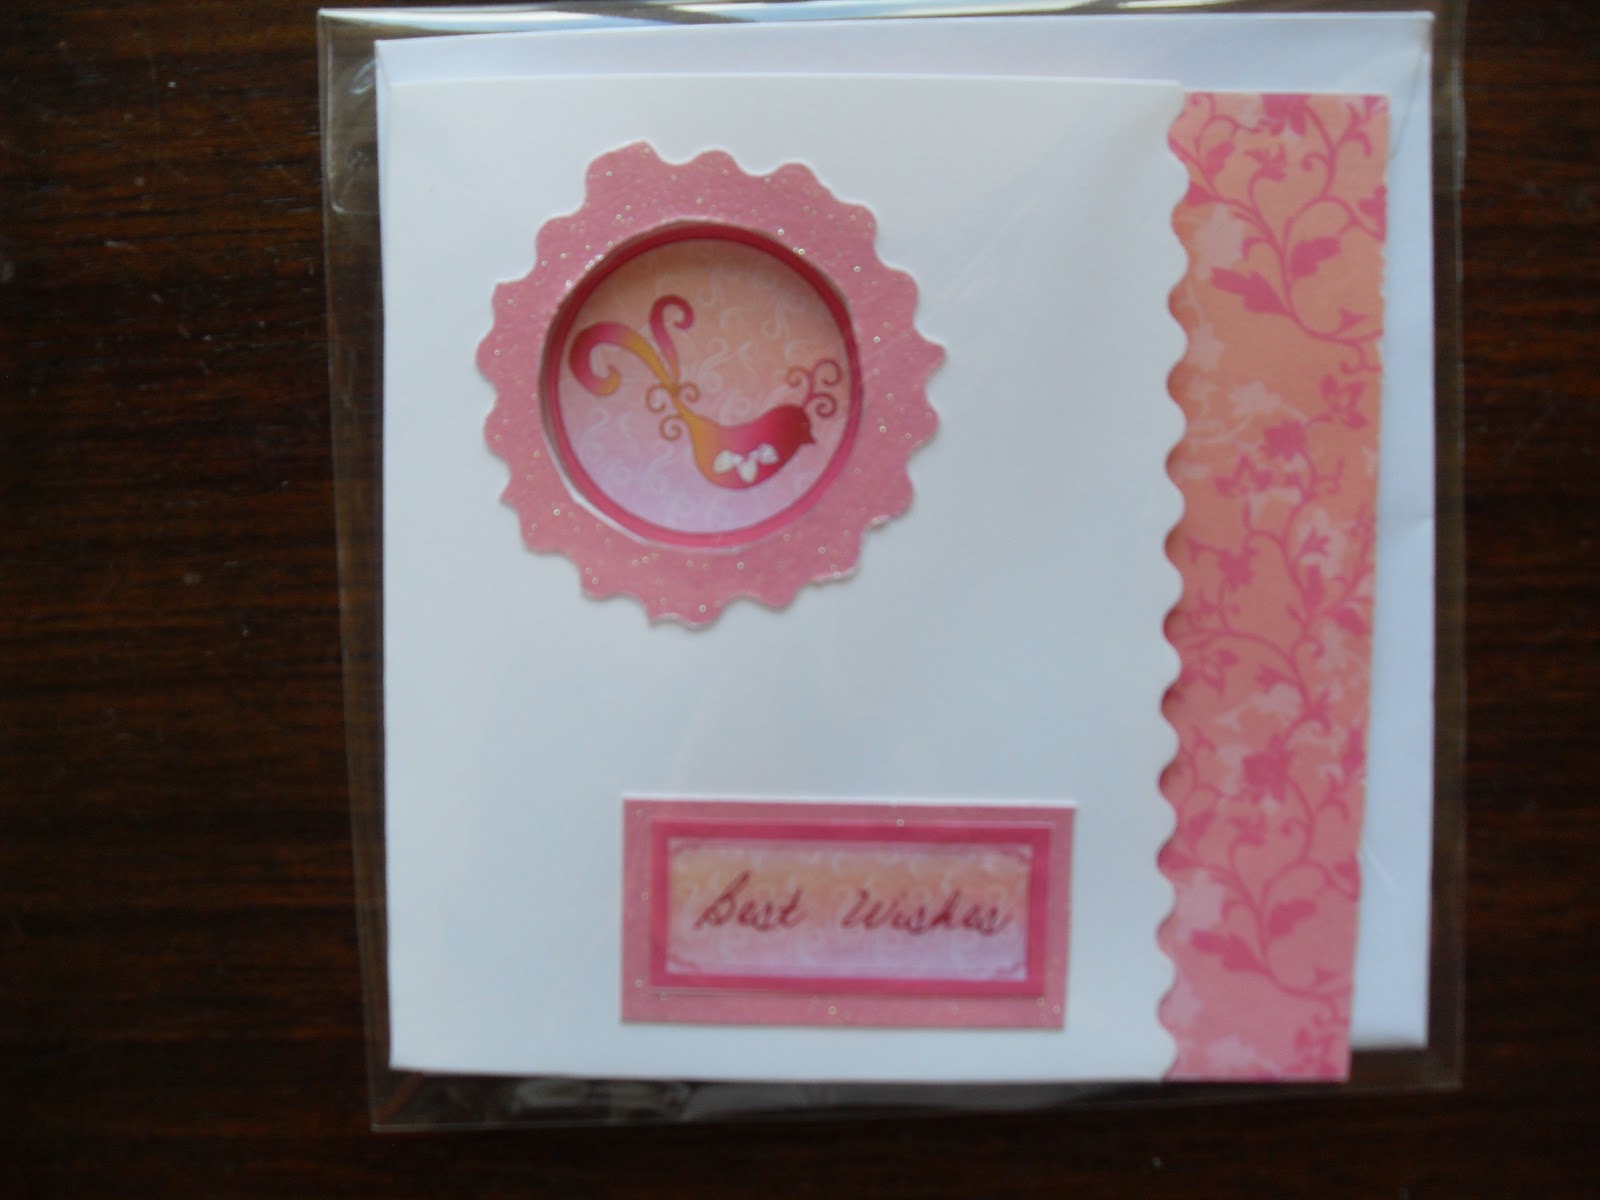
These two cards are simple and elegant. The first one has the words 'Seasons Greetings' in the middle which is raised slightly from the rest of the card. The second card features a Christmas message and are perfect for everyone.

B8
I really like this card and am pleased with the gold borders. The picture in the middle is made using decoupaage and some of the fruits, flowers and the bow have glitter on them.

B9
This is another shaker card that was featured in an earlier post. It has loose glitter in the middle to go with the words 'Let it snow'. There is also subtle glitter on the red background paper too.

B10
This is a 3 fold card and opens in the middle. There is a decoupaged image on the front with glitter on the flowers and the flame of each candle. Again there is a gold border around the centre image and a small greeting on the right hand side.

B11
This is a simple decoupage design with gold glitter on the baubles and the stars.

B12
This card has 4 green and silver tree designs down a silver strip of card in the middle. There are small green glitter dots bordering the silver strip and the words 'Merry Christmas' down the side along with a holly border.

As you can see I have been very busy and it feels like Christmas is just around the corner. If you like anything then please let me know.

Claire