I was looking through some blogs this morning for some inspiration and came across a sketch that I wanted to try out. I can't make it come up on here, but it was for a square card with an image on the left, some ribbon on the right and then some decoration. I didn't copy it exactly but made my own version of it as this card demonstrates:
The image was coloured with pro markers and some card candi was added to the top left of the picture.
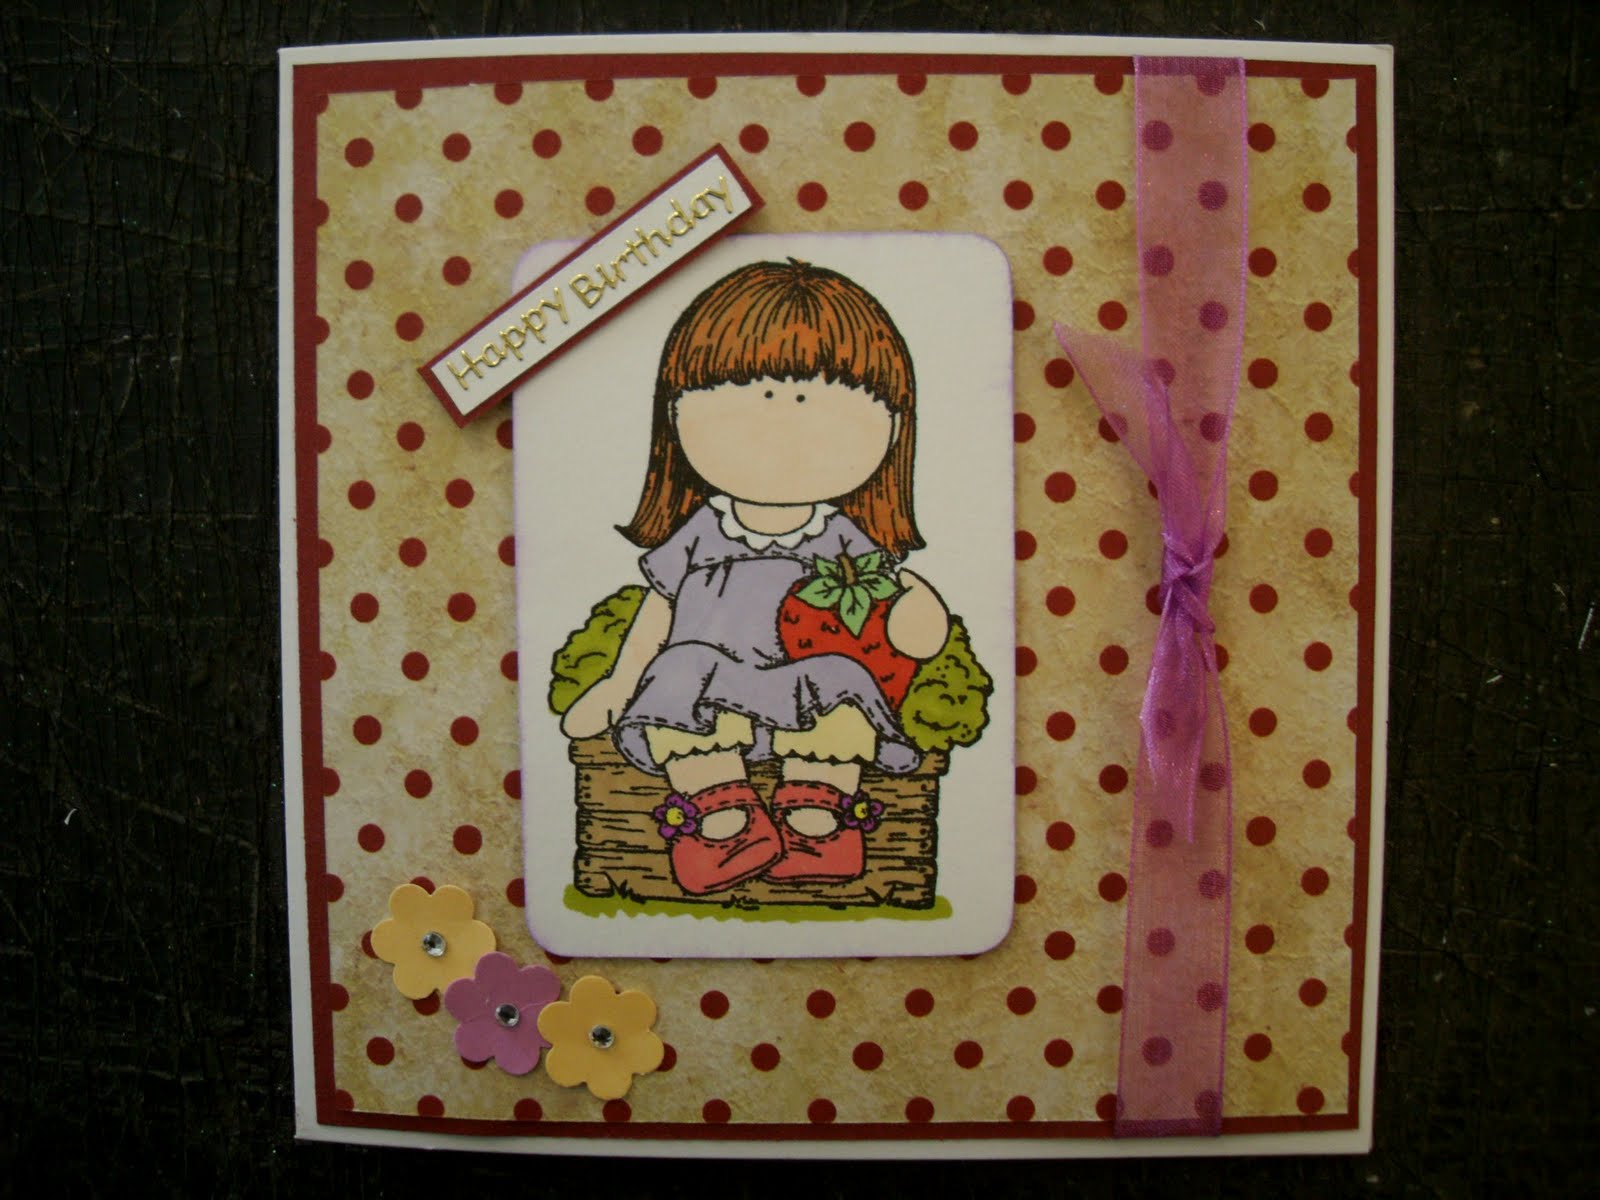
For the next card, I changed a few things around but the general layout is the same:
I added some flowers to the bottom left corner instead of the card candi and the sentiment was added as an extra piece going at an angle on the top left of the picture. Instead of mounting the picture onto some coloured card I very gently inked the edges. I didn't want much colour around the picture so I inked it from behind which left a very small line of ink on the front, just enough to give it a little bit of colour.
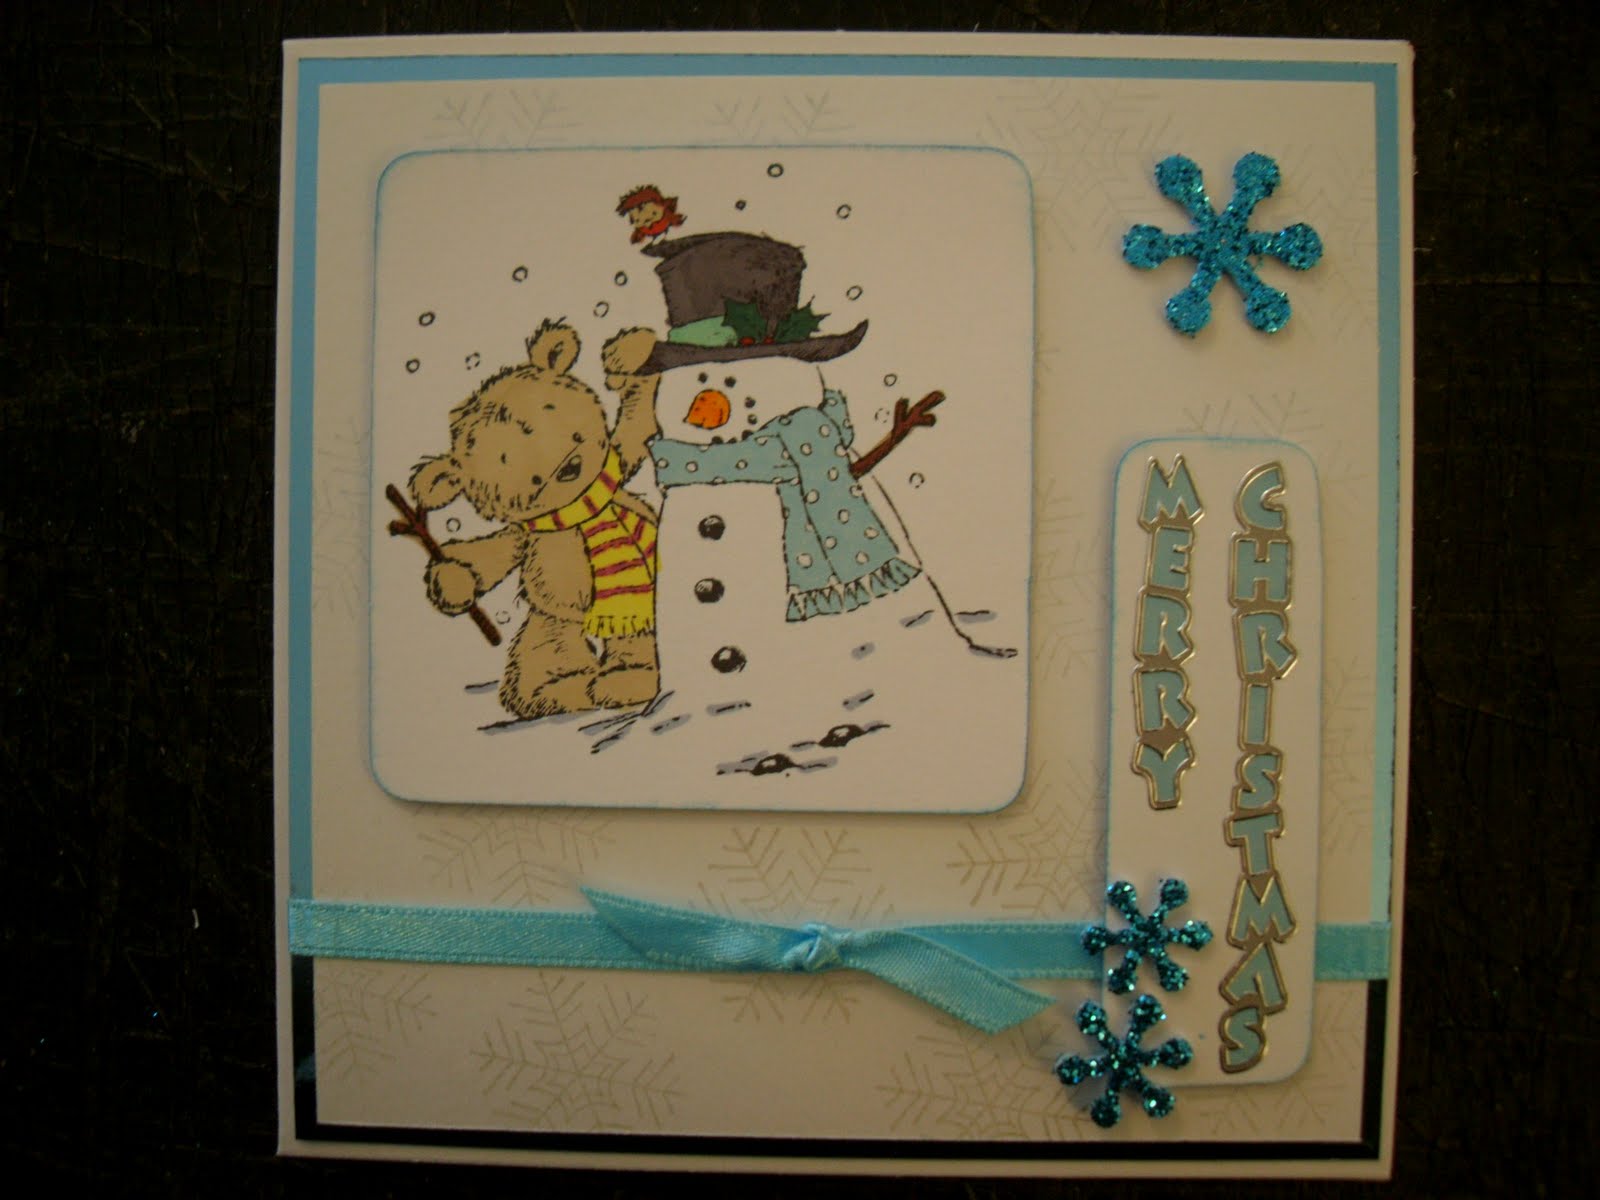
Then I decided to turn the design around 90 degrees for the next card and had the ribbon on the bottom instead of the right hand side.
I put the picture on the left instead of in the centre and the sentiment is going down. The blue snow flakes replace the flowers on the last card. I also inked the edges of both the image and the sentiment topper to define it from the background. Although it doesn't come up very well in the picture, the background has very faint blue snowflakes on it which I created using perfect pearls powder dusted over an image stamped with clear ink. They are pearlescent so they shine when they get into the right light and look very good on a contemporary Christmas card such as this one.
Sketches can be very good ways of providing inspiration when you are tired of using the same layouts in your cards. Sometimes they can also prove quite challenging as well and it's always fun to try out new things - why don't you have a go!
Claire

No comments:
Post a Comment