Friday, 29 July 2011

Friday's card project - using sketches

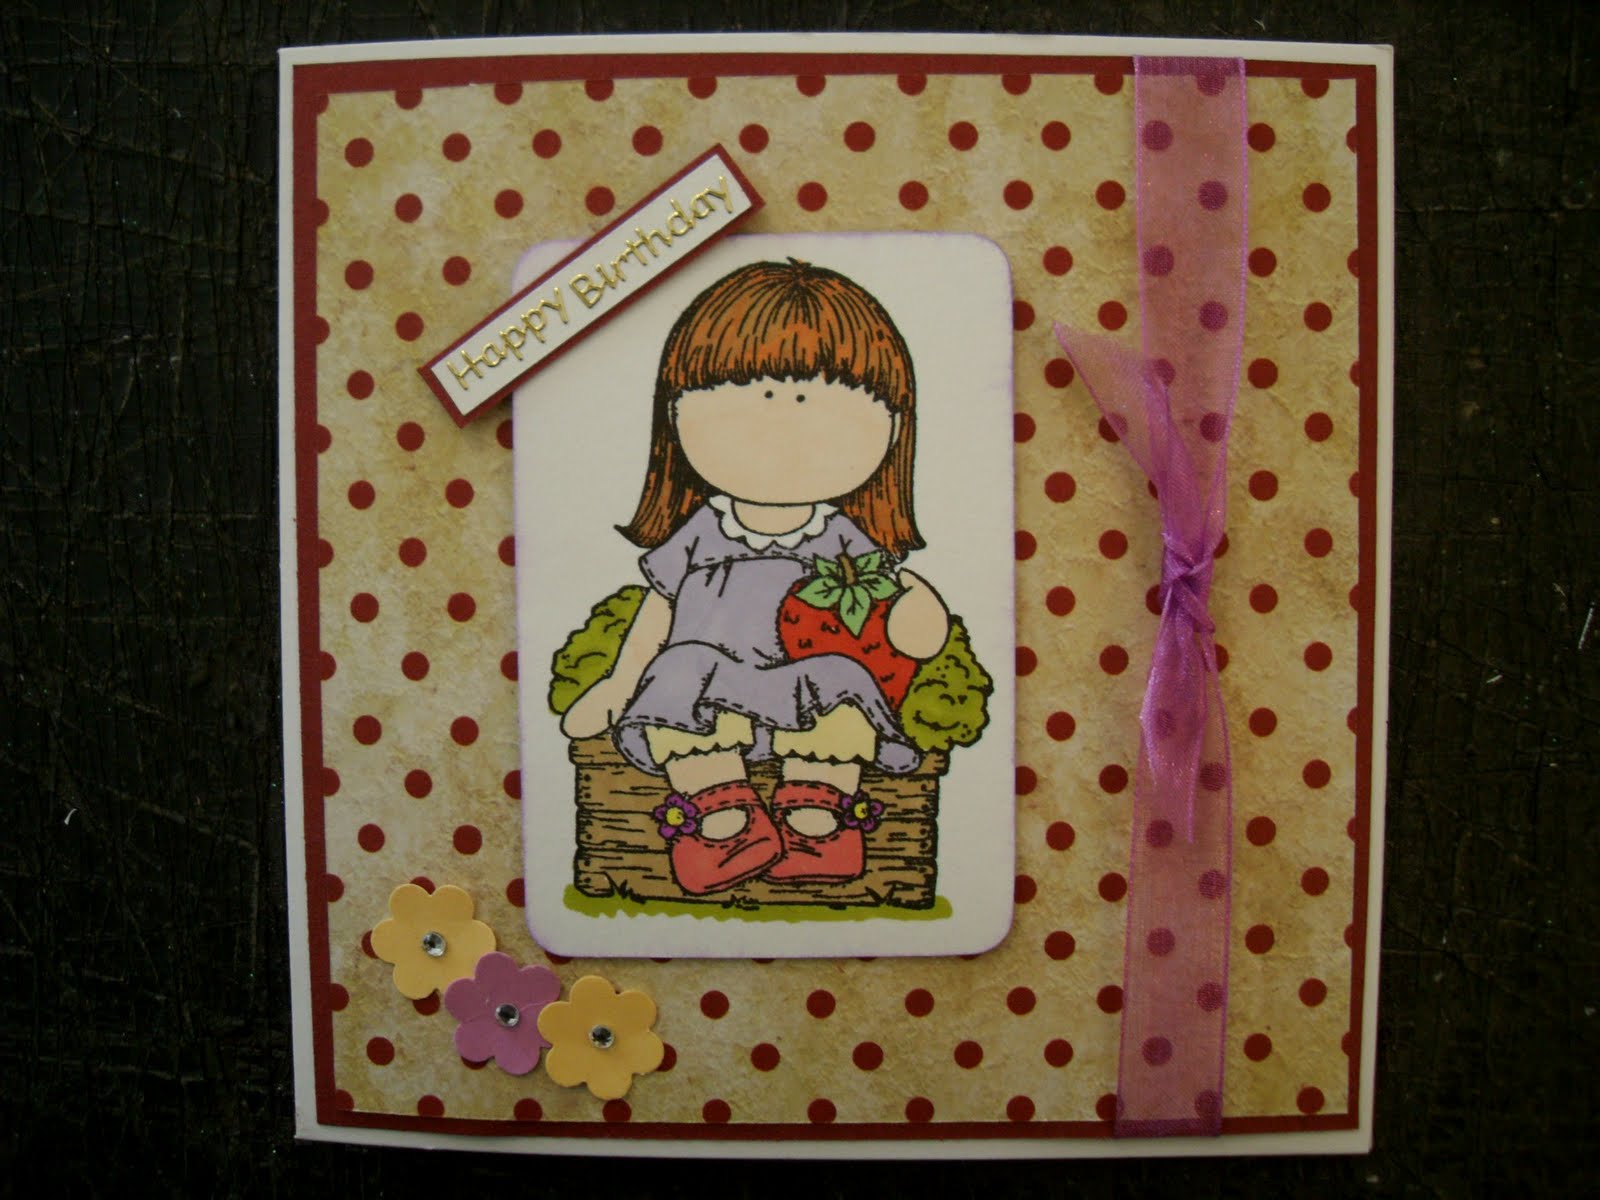
I was looking through some blogs this morning for some inspiration and came across a sketch that I wanted to try out. I can't make it come up on here, but it was for a square card with an image on the left, some ribbon on the right and then some decoration. I didn't copy it exactly but made my own version of it as this card demonstrates:

The image was coloured with pro markers and some card candi was added to the top left of the picture.

For the next card, I changed a few things around but the general layout is the same:
I added some flowers to the bottom left corner instead of the card candi and the sentiment was added as an extra piece going at an angle on the top left of the picture. Instead of mounting the picture onto some coloured card I very gently inked the edges. I didn't want much colour around the picture so I inked it from behind which left a very small line of ink on the front, just enough to give it a little bit of colour.

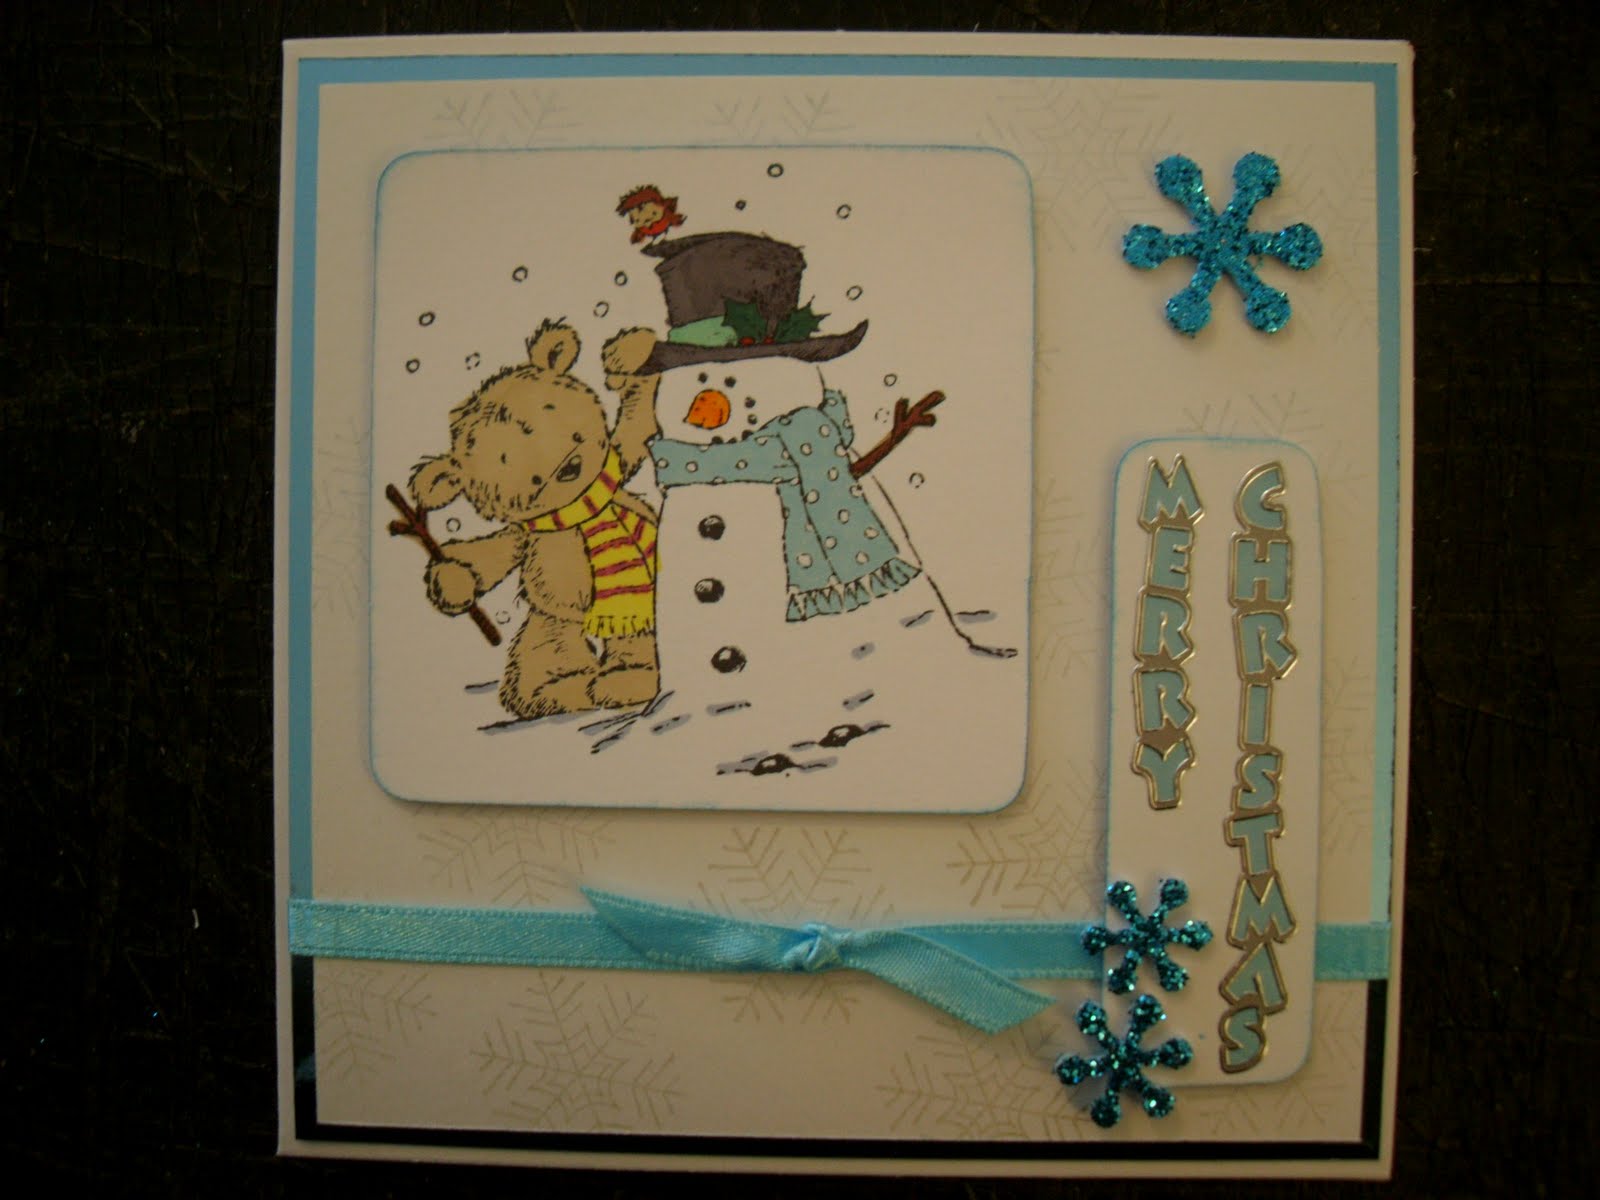
Then I decided to turn the design around 90 degrees for the next card and had the ribbon on the bottom instead of the right hand side.
I put the picture on the left instead of in the centre and the sentiment is going down. The blue snow flakes replace the flowers on the last card. I also inked the edges of both the image and the sentiment topper to define it from the background. Although it doesn't come up very well in the picture, the background has very faint blue snowflakes on it which I created using perfect pearls powder dusted over an image stamped with clear ink. They are pearlescent so they shine when they get into the right light and look very good on a contemporary Christmas card such as this one.

Sketches can be very good ways of providing inspiration when you are tired of using the same layouts in your cards. Sometimes they can also prove quite challenging as well and it's always fun to try out new things - why don't you have a go!

Claire

Thursday, 28 July 2011

Heat Embossing

I have spent the week experimenting some some heat embossing techniques for a new project I am trying out (I won't let on until I know it's happening) but I thought I would share some of the cards I made with you.

This was my first experiment:

I had a set of silhouette stamps which I hadn't used yet. The thank you was stamped with purple ink and then embossed with clear powder. It doesn't show much in the picture but it gives a shiny, almost wet look to it. It was then cut out and mounted onto a scallop circle and perfect pearl drops were added to each scallop. The flourish at the side was done in the same way onto a pink paper. It's a very simple card and I took the ideas and built on them for the next card:

I had been meaning to use my white embossing powder for a while and the flourish was screaming out to be stamped onto black card and embossed with the white powder, so this is what I did. I re-stamped it 3 times next to each other to create this beautiful black and white background. The topper has been stamped with black ink and embossed with clear powder and then the ribbon and stick on gems were added as a finishing touch.

The next card also builds on an idea that I have tried before: a silver embossed wedding cake.

Previously I had embossed the cake on it's own and mounted onto a white card blank, but it's not been that popular, so I have added to the design. I mounted it onto pink and then silver card and placed on a square card blank which had been covered with pink card and then silver congratulations paper. I embossed the sentiment in the same way - with the silver embossing powder as well as the two hearts. I am very pleased with the result and hopefully this one will sell slightly better than they last version.


The next card is my favourite. I read somewhere that someone had tried embossing peel off's. I had this peel off in my stock and hadn't used it but felt that it was in need of some glitter embossing powder, so that's what I did:

Again, it doesn't show up very well in the picture, but certain areas of the peel off have been embossed with sparkly powder. The same was done with the butterflies and they were then cut out and stuck onto the card. The wings have been slightly bent to add to the 3D look. The flourishes in the corners were stamped and embossed with white embossing powder as well as the sentiment.

And then there is this one, which again is very simple but it looks so effective and pretty.

The topper and sentiment were stamped with blue ink and embossed with clear embossing powder. The border along the bottom was stamped with blue ink and embossed with the sparkly powder. The mirri card which has been used for mounting the topper and sentiment, and for the flourishes, adds a certain sophisticated look to the card.

I hope you have enjoyed looking at my cards as much as I have enjoyed making them, and I hope that they will bring inspiration to any who want to try heat embossing for themselves.

Claire

Tuesday, 19 July 2011

July's handmade cards

I feel like I haven't made many cards recently, but then I look at the pictures I have taken of them all and realise that there are actually quite a lot. I had run out of inspiration for anniversary and wedding cards, which seemed to be the most popular and most requested so when I got some new products through I was very pleased to feel inspired again:


I have also been playing around with the new stamps I got and although I have made a few with them already there were still more cards I could make out of them including this one with the camper vans on it - perfect for both male and female I think:
These cards were made with my new peel off's

These gorgeous little girl stamps were borrowed from a friend.

And this new stamp was used to make a boy's card, which I never get any inspiration for at all!

My obsession with core'dinations cardstock continues and after my attempt at scrapbooking (which I will post pictures of later) I tried some more cards, both with the distressed look and the more sophisticated, neat look to them:


And here are the rest:


My favourite one is the gingerbread people on the engagement card!


Claire

Wednesday, 6 July 2011

New Card Designs

Having run out of inspiration with the existing card making materials I have (and there are a lot of them!) I went and bought some more and my inspiration has returned.

I was looking for a flower silhouette stamp to stamp on background paper. I didn't find exactly what I had in mind but I did get this stamp which I have been experimenting with.

This card was stamped with black ink and then embossed with clear embossing powder - both the flower and the flourish behind is done in this way, and then some pearl dots and glitter were added to brighten it up.

I then used the same stamp and some brown ink. I then used my shimmer chalks and perfect pearls to create the background. A piece of yellow ribbon and some pearl dots finish off the card.

I also bought an unmounted rubber stamp - which I have not used before but I really liked the design so had to have it. Again I have made two cards so far with this stamp.


This card was made with the rubber stamp, stamped in clear ink and then brushed with purple perfect pearls. It went a bit splodgy but it adds to the vintage effect.

I then stamped the image with my brown ink pad and using a sponge, distressed the background card and edge of the blank card with the same brown ink.

I have also fallen in love with a company called Little Claire Designs (no it's not me - it's just a coincidence). I found some gorgeous peel off's to suit many different occasions and here is what I made.

This one is for a wedding, with a stained glass window as the main feature. The flourish was embossed in all 4 corners and some bells and peel off hearts added at the end.

I was also looking for some ideas for children and found these peel off's. They are coloured brown, so rather than just have the outline of the image I used my transfer sheets (which I have finally found after hunting around for ages) and transferred the whole image across.

There were some lovely hedgehog images too which I have made up into small cards measuring only 4 inches square. Again I used the whole image rather than just the outline.


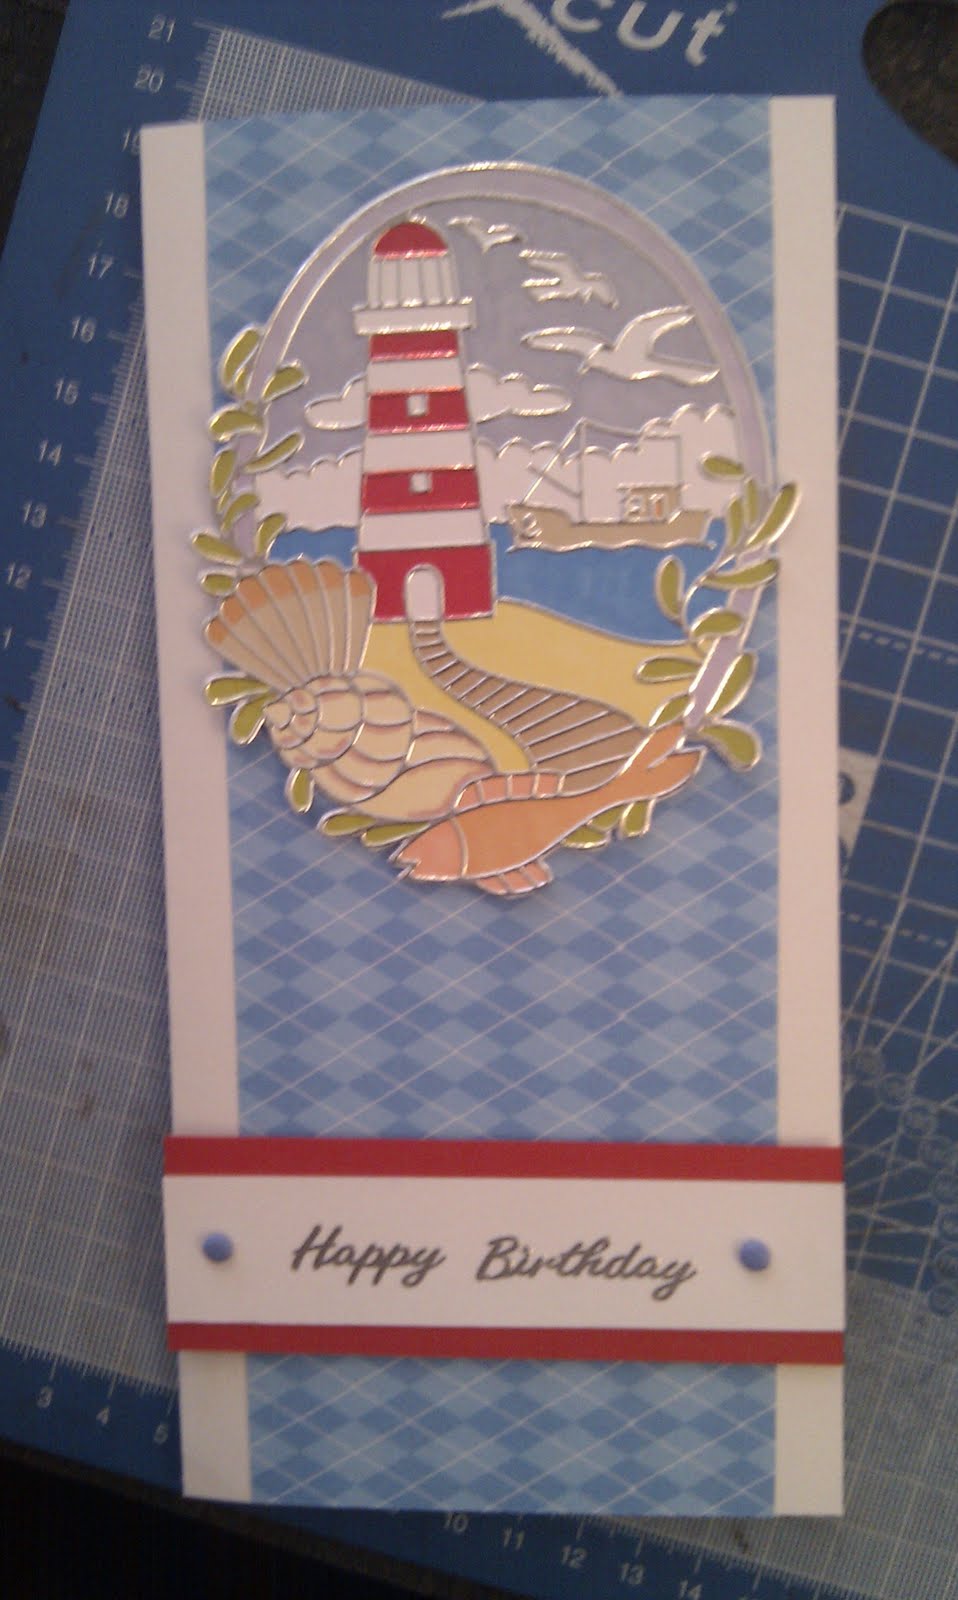
And finally, some peel off's for men were found and I used this car image to make a male birthday card. This time I did take just the outline sticker and colour it in.


These are just a few of the new bits I bought so watch this space for some more new cards!

Claire

Friday, 1 July 2011

A week full of card making

After a few days with no inspiration at all for card making, my selection was diminishing some what so I had to make some more. Once I had sat down with a few bits in front of me I found that I had more inspiration that I thought and is is what I made:

I had to make Hannah's birthday card first of all and seeing as she was the one who started me off in card making I had to find something that would impress her. I tried a double twisted easel card - it was my first attempt and I thought it turned out very well. She was very impressed

And then I played around with a few other bits and came up with these:


Nothing too exciting there but I have great plans for things to come. I made my first scrapbook page the other day as an example to take to my next workshop and I was quite pleased with the result. I now have a whole load of pictures I want to make scrapbook pages out of now.

I have also been making my own range of backing papers as well and again I am very pleased with the result. They are heat embossed with snowflakes on and will be available in the shop later this month. I hope they are popular and I have lots more designs I would like to try out if they sell well - watch this space!

Claire

Sunday, 12 June 2011

June Commissioned cards ... so far

Here are the commissioned cards that I have made this month - the requests are getting more popular with more and more people wanting them made.

First, here the one I made my friend for her birthday at the end of May so it's slightly cheating but not by much.

I wanted it to be really summery which I think I achieved and I haven't really made much with the watering can stencil so I thought I would have another go. She said she really liked it.


Next is a Holy Communion card that a lady requested because she was going across to Ireland for her Granddaughters (I think) Communion and she said she hadn't been able to find a nice card anywhere. Here is what I came up with:

The lady came back to the shop the following week and although I wasn't there, she said how well received it had been in Ireland and how everyone had really liked it.


The next was for a fairly regular customer of ours who was looking for an anniversary card to give to her boyfriend. I don't keep a big stock of anniversary cards in the shop because I like to make something a bit more personal and here is what I made:

Again it is a very simple design with a heart corner punch used, but because it's so personal with the names and dates on it makes it that extra bit special.


A 45th wedding anniversary card was the next one to be requested - again it's not something that can be found easily in the shops.

There was plenty of blue used and I used some core'dinations card and sanded it to make the large heart and the border on the right hand side. Again it was gratefully received.


And the greatest achievement was the following card for a silver wedding anniversary:

It is A4 in size and I drew the picture in the middle from a drawing that had been printed off the computer. I am not very good at drawing but I had a good go and it actually turned out to be quite similar. I again used the heart corner punch and used the hearts I had punched as the rain for the main picture.

Because I didn't have any A3 card to fold in half I took 2 pieces of A4 card and punched holes down the left hand side. I bound the card with silver ribbon to keep it in place and because the customer wanted an insert I sandwiched a piece of A4 paper in the middle with the typed verse on it.

She was very pleased and I even got paid £10 for it - far too much I think but it was very generous of her.

There was another card I made for an 18th Birthday but I forgot to take a picture, and another one for a 100th birthday but again I forgot to take a picture - I must get into the routine of it!

Still a few more weeks left of the month so hopefully lots more cards to make.

Claire

Prestbury Crafts and Gifts
8 The High Street
Prestbury
Cheltenham
GL52 3AS
01242 224414

Sunday, 5 June 2011

Some new cards for the collection

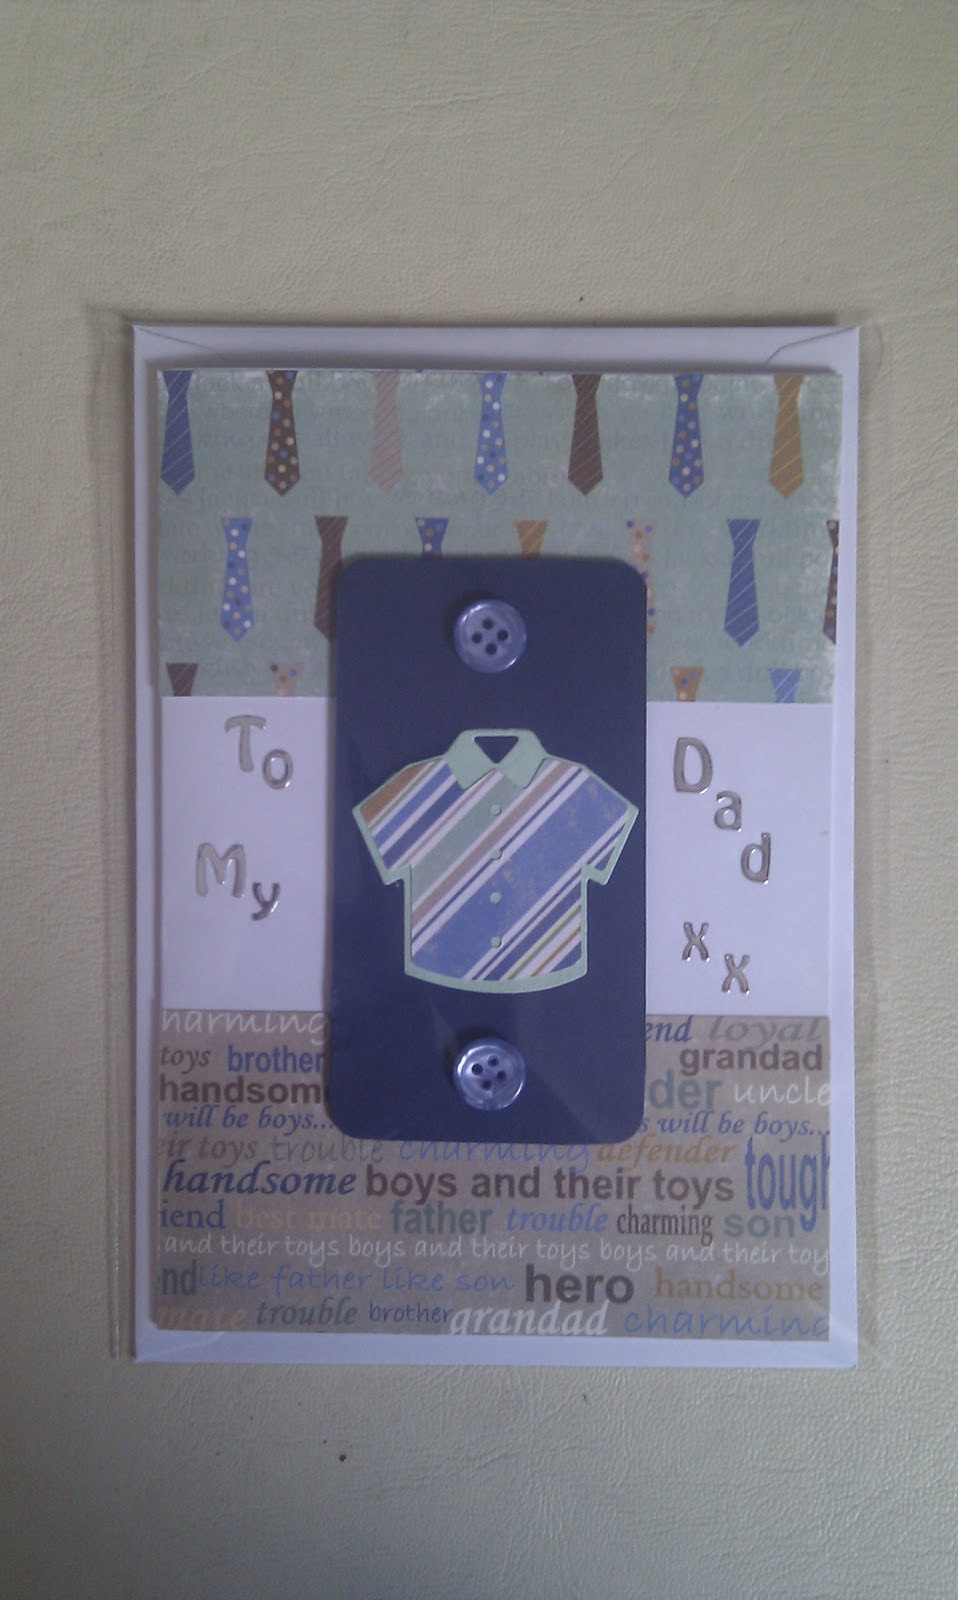
I have been very busy this week making cards to add to the collection. I thought I would try out some new designs and concentrated on some interesting ones for men as father's day is just around the corner. Here is what I have made:


 When I got bored of making men's cards (they're really not very inspiring) I tried my had at some new girly cards.

Here is the tulip bridge stamp used again. Although I like the design I've not had much inspiration with it.

Here is an updated version of the padded cards I made previously, this time it has slightly more colour to it

And this one is very girly, using some vinyl butterfly stickers that I have had for ages and again, not had much inspiration to do anything with until now:

And here is a glittery birthday card to finish off the collection:

If you like what you see then all the cards are available at Prestbury Crafts and Gifts, Cheltenham - while stocks last! Some of them I can only make once but there are plenty more available. Why not pop in for a visit:

Prestbury Crafts and Gifts
8 The High Street
Prestbury
Cheltenham
GL52 3AS